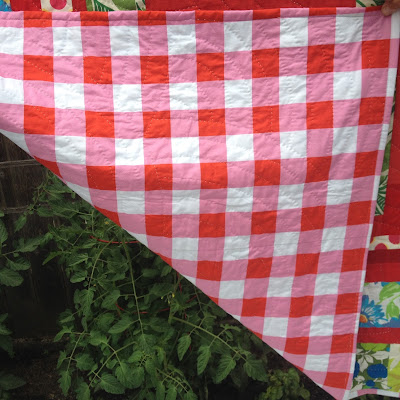
Since some of you asked, here's a tutorial on how I do a back to front binding--
that is, using your backing fabric as your binding.
I got the idea from the Gee's Bend quilts.
Mine is done a little differently than theirs,
but it serves the same purpose.
I can hear the Gee's Bend gals saying,
"Why cut off good fabric when you can bring it around to the front?"
I'll also show you what Gwen Marston taught us about
making an extra wide binding,
which is sometimes a good design element.
If you want an extra wide binding,
start by cutting your batting bigger than your quilt top.
I do this with scissors, so I don't cut into the backing fabric.
It's OK if the cutting line isn't perfectly straight.
I made mine 1/2" bigger.
If you don't want the wider binding,
just cut your batting to the edge of the quilt top.
Scissors are still a good idea.
Next, cut the backing fabric.
I lined up my ruler with the quilt top edge, rather than the batting edge.
I cut the backing fabric 1-1/2" bigger than the top.
Then fold over and iron the edges on two opposite sides of the quilt.
If you want mitered corners,
fold the fabric diagonally UP TO THE BATTING EDGE.
Then fold and iron the other two sides of the quilt.
The corners will fall into place nicely. Pin if you like.
Stitch around the edge of the whole quilt by machine or by hand.
Voila! Here's how it looks on the back.
After cutting, this binding took less than an hour to complete!


